
The Dev Team just released PwnageTool 4.2, a jailbreak for iOS 4.2.1 for iPhone 3G, iPhone 3GS, and iPhone 4 (AT&T and Verizon), as well as the iPad, Apple TV, and iPod Touch 3G and 4G.
PwnageTool will allow you to jailbreak your iPhone on the latest iOS 4.2.1 while preserving its baseband, thus allowing you to unlock with UltraSn0w, assuming you are still on baseband 01.59.00.
This step by step guide will show you how to jailbreak your iPhone 4.2.1 with PwnageTool, a Mac-only jailbreak for iPhone…
Step 1: Make sure you are running the latest version of iTunes. If not, update iTunes then sync your iPhone. Close iTunes when done.
Step 2:
DOWNLOAD IOS 4.2.1 VIA DIRECT LINKS HERE:
- iPhone 3G
- iPhone 3G S
- iPhone 4
- iPod touch 2G
- iPod touch 3G
- iPod touch 4G
- Download iOS 4.2.1 for Apple TV 2G
Step 3: Launch PwnageTool, select Expert Mode, then select your device. Click the blue arrow to continue.
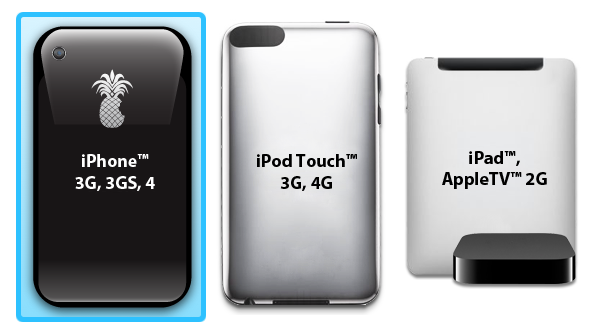
Step 4: Now browse for the iOS 4.2.1 firmware you downloaded in step 2.

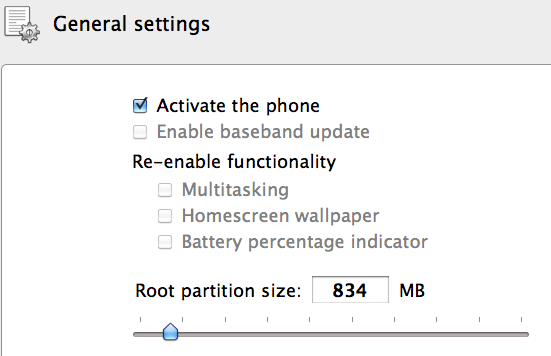
Step 7: You are in “Custom packages settings”. By default, “Cydia Installer” should be selected. Make sure it is selected and click next.
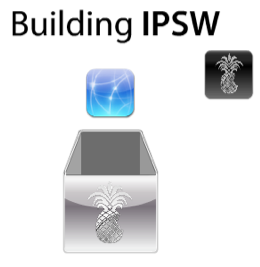
Step 8: Click “Build”, then click the blue arrow.

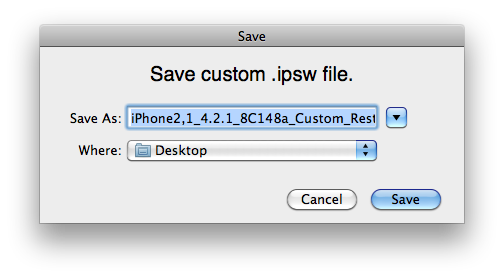
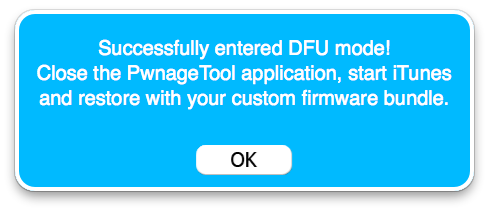
Step 13: In iTunes click on “restore” while holding the Alt/Option key on your Mac. A window will pop up. Select the custom IPSW that built in step 10.
Step 14: iTunes will restore your iPhone using this custom firmware, which should take a few minutes.
Once you’re done, you should have the Cydia icon on your springboard. Depending on your baseband version, you might even be able to unlock using UltraSn0w.
stay with us for more............
0 comments:
Post a Comment